Protected: Kalaitzis
This content is password protected. To view it please enter your password below:
Password:
This content is password protected. To view it please enter your password below:
Password:


One of my favourite haunts in Melbourne is the Camberwell Markets which, sadly for now has been cancelled due to Covid-19. I though this time of isolation would be the ideal time to restore some of the amazing images I have found at the market during previous visits.
The two images below were copied from large […]
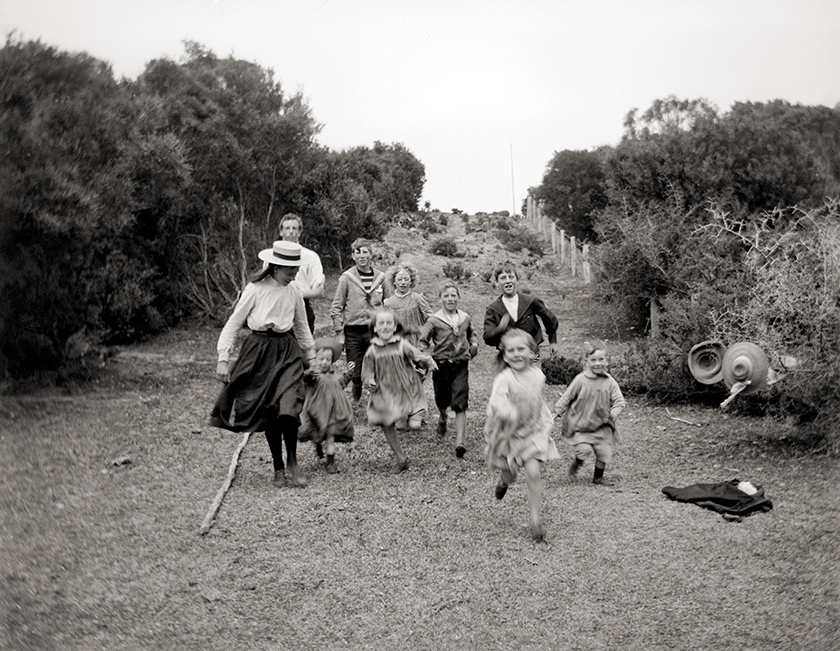


I found this image at the Camberwell Sunday Markets and decided it would be a fun restoration challenge. I like sifting through these old images to find something quirky and on this occassion, I certainly found it!
It wasn’t until I scanned the photograpah and took a closer look that I realised just how strange it […]


I recently restored this image for the “Friends of Hanging Rock”, a group who help care for, protect and restore Hanging Rock, a volcanic formation over 6 million years old, located in the Macedon Ranges of Victoria. Hanging Rock is home of the Hanging Rock Cup and Races and was the setting for the world […]
![In the front line, Anzac Cove Views show Soldiers in the trenches at Anzac Cove. Date(s): [ca. 1915] Photographer: Laidlaw, Victor Rupert, 1893-1983.](http://www.pixelbypixel.com.au/wp-content/uploads/2015/04/Gallipoli-34.jpg)
This Saturday, 25th April 2015, marks the 100th Anniversary of the first major military action fought by Australian and New Zealand, (ANZAC) forces during the First World War at Gallipoli. It is a time for us to remember and to honour those who have served with our armed forces; sadly, many of whom […]
